I didn’t start off as a seashell crafts maker. I didn’t even plan on doing any crafts at all. It started on one of those family beach trips where you think, “I’ll bring back a few seashells, they’re cute!” You know the drill—picking up that perfect seashell and thinking it would be so nice to keep as a little memento. Well, after that trip, I had a whole bag of seashells. They sat in my garage for months until one day, I had an idea.
It started with Pinterest, as most accidental crafts do. I thought, “What could I even do with all these seashells?” Before I knew it, I was in deep, scrolling through endless DIY seashell craft ideas. And I’m not just talking about sticking them in a jar and calling it a day—people were making mirrors, picture frames, wind chimes, and even Christmas ornaments with seashells! I was floored. How had I never heard about this?
Read also: Interior Design Styles
My First Seashell Crafting Mistake
So, full of enthusiasm (and still totally unprepared), I decided I was going to make a seashell picture frame. Easy enough, right? I had an old frame lying around, a hot glue gun, and a bunch of seashells—perfect. The first mistake I made, and you should learn from this, was not cleaning the seashells properly. If you’ve ever worked with seashells, you’ll know they can be a little…smelly. I skipped the cleaning step, thinking it wouldn’t matter. Huge mistake!
By the time I’d glued half of the shells onto the frame, I could smell that something was off. Not wanting to admit defeat (or inhale the stink), I powered through. But here’s the thing: shells fresh from the beach can have all sorts of hidden stuff inside them—salt, sand, even a little seaweed. That stuff needs to be cleaned off, or you’ll have a disaster like mine. I later found out that soaking them in a mixture of water and bleach for about 15 minutes does wonders. Lesson learned.
Crafting Tip: The Best Way to Clean Seashells
If you’ve collected your shells from the beach like I did, there’s a simple way to clean them without ruining their natural beauty. You can soak them in water first, just to get rid of any loose sand. Then, mix one part bleach with three parts water and let the shells sit in there for a while. If you’re dealing with particularly stubborn grime or smell, leave them in for up to 30 minutes. Rinse them off, and let them air dry—trust me, you’ll thank me later.
Now, here’s something else I didn’t realize: some shells are more fragile than others. I found that out the hard way when I tried to glue a particularly delicate shell onto my frame, only to have it shatter in my hand. Pro tip: not every shell is suitable for every project. Some are meant to be admired, not glued!
Picking the Right Project for Your Seashells
Once I had my cleaning technique down, I started thinking about what projects I actually wanted to tackle. Honestly, it’s overwhelming at first because you’ll find seashell crafts for just about everything. I’ve seen mirrors that are decked out like something from a mermaid’s palace, vases covered in shells that look like they belong in a seaside cottage, and even seashell jewelry! But before you dive in, here’s something important—start small.
I don’t know how many times I’ve started a project thinking I was going to create some grand masterpiece, only to end up with a half-glued mess. If you’re new to seashell crafting, try something simple like a magnet or a picture frame (just remember the cleaning trick!).
One thing I found really helpful was laying out the shells before gluing anything down. This helped me figure out which shells looked good together, and also saved me from wasting glue on a shell that didn’t fit right.
The Wind Chime That Almost Ruined My Weekend
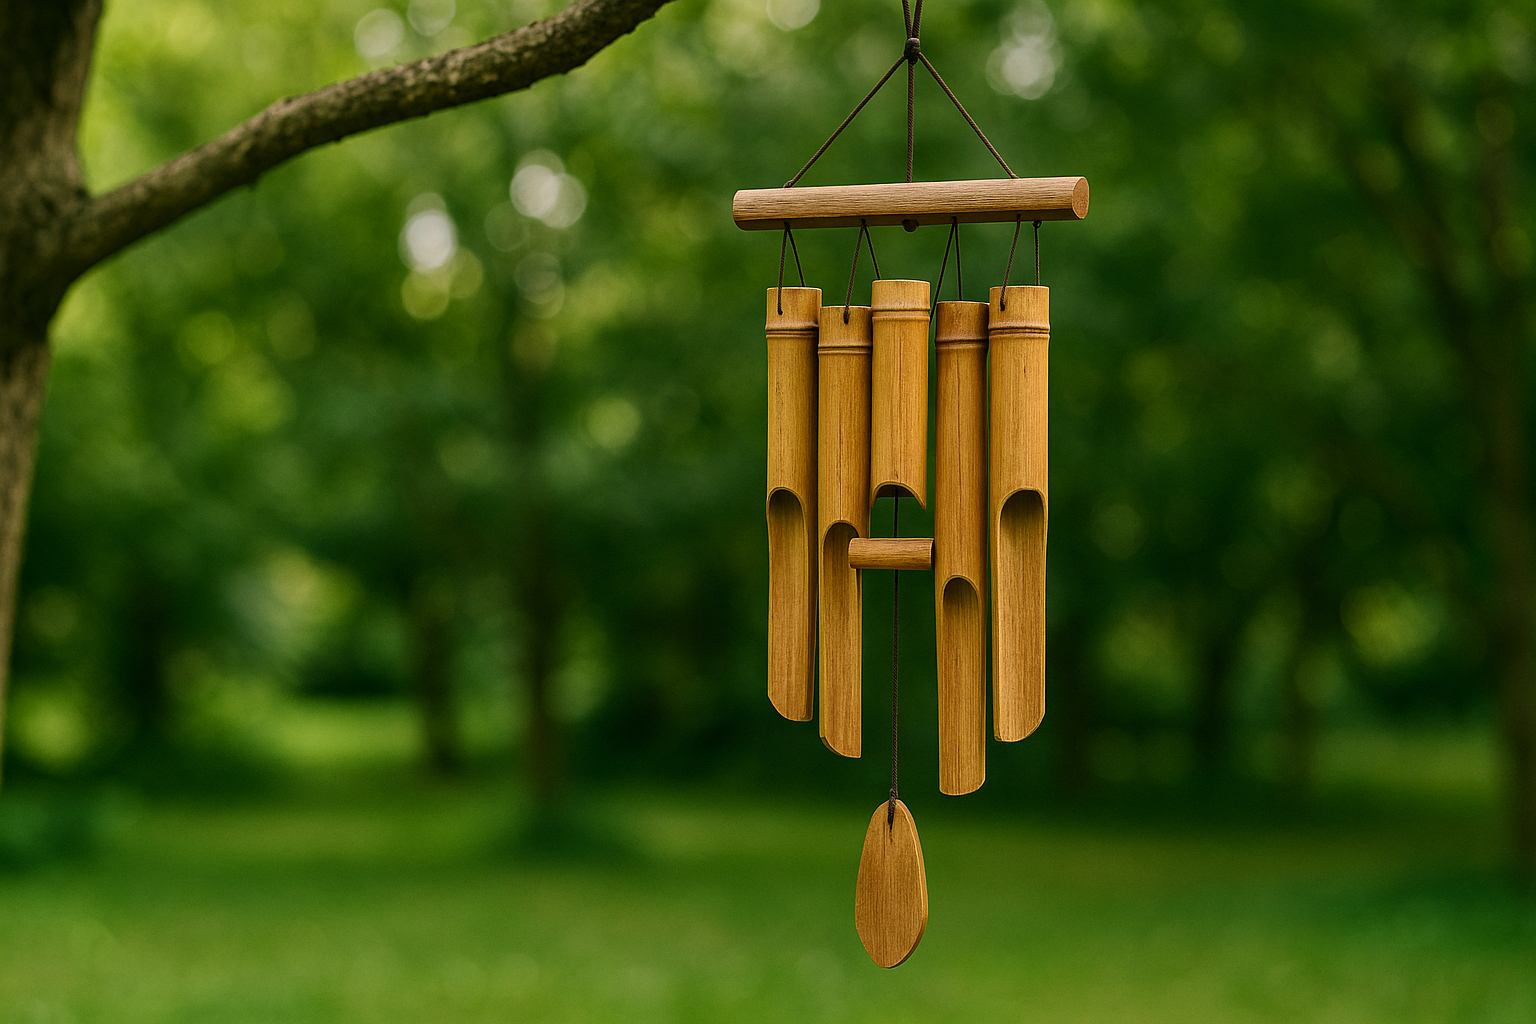
One of my most ambitious (and almost failed) projects was a seashell wind chime. It seemed simple enough—tie some shells onto strings, attach the strings to a wooden hanger, and voilà! A beautiful, beachy wind chime. What I didn’t realize was that drilling holes into seashells is an art form all its own.
If you’ve ever tried this, you know what I mean. Some shells are so fragile that the second you try to drill through them, they break into pieces. I ruined at least ten shells before I got the hang of it. After some frustration (and a little bit of swearing, if I’m honest), I figured out that using a small drill bit and going slow—really slow—was the key. I also put a piece of masking tape over the shell before drilling to help prevent cracking.
The end result? Not too shabby, if I do say so myself. But be warned—seashell wind chimes take time, patience, and probably more shells than you think.

Turning Seashell Crafting into a Stress Reliever
You know what surprised me the most about getting into seashell crafting? It’s actually kind of therapeutic. After a long day, there’s something really satisfying about sitting down with a bunch of shells, some glue, and an idea. It doesn’t always turn out perfect, but there’s something calming about the process. Plus, it’s a great way to use those shells you’ve collected instead of just letting them sit around collecting dust.
One of my favorite crafts now is making seashell candles. It’s surprisingly easy and doesn’t require a ton of supplies. You just need a few medium-sized shells, some wax, and a wick. Melt the wax, pour it into the shell, and pop in the wick before it hardens. They make for great little decorative pieces, and they’re also really cute gifts.
Crafting Isn’t About Perfection
Here’s the thing about seashell crafting (or any crafting, really): it’s not about being perfect. The first few projects I made were, well, kind of terrible if I’m being honest. Some of the shells weren’t glued right, others were crooked, and more than a few fell off. But I kept at it, learned some tricks along the way, and now I can say I’ve made some pretty cool stuff. Plus, it’s a great creative outlet that doesn’t involve staring at a screen all day, which is something I think we all need a break from sometimes.
If you’re thinking about diving into seashell crafts, I say go for it! Start with something simple, be patient, and don’t be afraid to make mistakes. After all, that’s half the fun, right?
Just remember to clean your shells first—trust me, you don’t want to skip that step.
Discovering New Uses for Seashells Around the Home
After that wind chime success, I started to look at seashells a little differently. They weren’t just souvenirs anymore; they were this untapped resource for decorating my home. The possibilities felt endless, and honestly, I got a bit seashell-obsessed. I started finding seashells in places I hadn’t even remembered putting them—tiny ones stuffed in pockets, larger ones hiding under the seat in my car. It was like they were begging me to do something creative with them.
One of the easiest and most satisfying projects I stumbled upon was making seashell soap dishes. Super simple, and they look adorable in a bathroom or kitchen. You just need a large, shallow shell—something like a clam shell works best. You can leave it as-is or coat it with a bit of varnish to make it shiny and waterproof. I’ve even seen people add little feet to the bottom using smaller shells or pebbles, though I haven’t tried that myself (yet!). The shells are naturally resistant to water, so they’re perfect for holding soap bars. And bonus? They add that perfect coastal touch to any space.
Seashell Jewelry: A New Adventure
Now, let me tell you about my attempt at making seashell jewelry. Jewelry making wasn’t really on my radar at first, but I saw a gorgeous necklace made with tiny seashells on Instagram, and I figured, “Why not?” After all, I had plenty of small shells that I hadn’t found a use for yet, so it seemed like a good next step.
My first attempt at making a seashell necklace… well, let’s just say it didn’t go exactly as planned. I thought I could just superglue a seashell to a chain and call it a day. Turns out, seashells are a little too heavy for most delicate jewelry chains, so I ended up with a necklace that kept flipping over or hanging in awkward positions. Plus, the glue didn’t hold as well as I’d hoped, and I lost a couple of shells along the way.
After a bit of trial and error, I learned that the key to making seashell jewelry is to use lightweight shells and to drill holes in them to attach them to your jewelry findings (you know, those little hooks and clasps). Oh, and using a stronger adhesive like epoxy can save you from a lot of frustration. It’s a bit more time-consuming than I thought, but the results can be pretty amazing. Now I’ve got a cute little collection of seashell earrings and necklaces that I wear on beach days or give away as gifts.
Seashell Crafts for the Holidays: The Unexpected Hit
One of the best ideas I stumbled on was using seashells in holiday decorations. And honestly, I didn’t see this coming. My friend had this amazing Christmas tree decked out with beach-themed ornaments—tiny starfish, driftwood pieces, and yep, seashells. At first, I thought, “Nah, that’s too kitschy for me,” but it looked so good, I couldn’t resist trying it out for myself.
I started by making seashell ornaments for my own tree. It’s super simple: just take a medium-sized shell, drill a small hole near the top, and thread some ribbon or twine through it. You can leave the shells plain, or you can get creative by painting them, adding glitter, or even drawing on little designs. I made a few with metallic gold paint, and they looked stunning against the green of the tree.
If you want to take it a step further, you can even make seashell garlands. I didn’t have the patience to make a full one, but a friend of mine did, and she swears it wasn’t as hard as it looks. You basically string the shells together using strong fishing line or wire, tying knots between each shell so they stay in place. It’s a perfect way to bring a little bit of summer into your winter decor, especially if you’re someone who doesn’t love the traditional reds and greens of Christmas.
Why Seashell Crafts Are More than Just a Hobby
So, at this point, you might be thinking, “Okay, that’s all well and good, but I don’t have the time to spend on seashell crafts.” And I get it—life is busy, and not everyone wants to spend their weekends covered in glue and seashell dust. But here’s the thing I’ve learned: seashell crafting has become more than just a hobby for me. It’s become this creative outlet that’s really helped me unwind.
There’s something almost meditative about sitting down with a bunch of shells and figuring out what to do with them. It’s like solving a puzzle—each shell has its own unique shape, size, and texture, and it’s up to you to figure out how it fits into your project. Plus, I’ve found that working with my hands, whether I’m gluing shells to a frame or stringing them onto a piece of twine, is such a great way to get out of my head for a little while. It’s a break from screens, from work, from the daily grind. And the best part? At the end of it, I’ve created something tangible, something beautiful that I can either keep or share with someone else.
A Few Final Tips for Beginners
Before I wrap this up, let me leave you with a few tips that I wish someone had told me when I first started:
Start small: Don’t try to tackle a huge project like a mirror or a lamp right out of the gate. Start with something easy, like a seashell magnet or a picture frame. You can always work your way up to the bigger stuff once you get the hang of it.
Be patient: Seashells aren’t always easy to work with. They’re fragile, they can be tricky to glue, and sometimes they just don’t want to cooperate. Take your time, and don’t get frustrated if things don’t turn out perfectly the first time around.
Invest in good tools: I know it’s tempting to just use whatever you have lying around, but having the right tools can make a huge difference. A good glue gun, some strong adhesive, and a small drill (for making holes in the shells) are absolute game-changers.
Get creative: One of the best things about seashell crafts is that there are no hard and fast rules. You can paint the shells, cover them in glitter, or leave them natural. You can mix them with other materials like driftwood or glass beads. The sky’s the limit, so don’t be afraid to experiment.
Don’t be afraid to fail: Trust me, not every project is going to turn out exactly how you envisioned it. And that’s okay! Sometimes the best ideas come from mistakes. I’ve had projects go completely sideways, only to turn into something even better than what I originally planned.
Seashell crafting has taken me on a journey I never expected. From smelly, unwashed shells in a bag to handmade decorations that brighten up my home, it’s become a hobby that I truly love. Sure, I’ve had my fair share of mishaps, and not everything I’ve made looks Pinterest-worthy. But that’s the beauty of it—every piece is unique, and each one tells a story. And at the end of the day, there’s something really satisfying about turning a simple seashell into something that’s both beautiful and meaningful.
So, if you’ve got a stash of seashells lying around, I encourage you to give seashell crafting a try. Whether you’re looking for a new hobby, a way to relax, or just something fun to do with the kids, seashell crafts are a great way to unleash your creativity. And who knows? You might just end up becoming a seashell crafter like me—totally by accident, but loving every minute of it.


